Sewing With My New Cricut Maker

My first sewing project with my new Cricut Maker was so much fun! This cutting machine is my new favorite sewing toy! I chose to make a Simplicity pattern offered as one of the projects in Cricut Design Space.


The process was really easy. I chose my project, connected my computer to the Cricut Maker, and followed the instructions. There is an assembly PDF to go along with all the sewing patterns, so I kept my computer nearby so I could refer to the instructions easily. There is also an option to print the instructions if you prefer that.

The first thing you have to do is prepare your fabric by pre-washing it and pressing it a bit to insure that it's nice and flat. Then cut your fabric in 12" x 24" pieces to fit on the pink fabric grip mat. Be sure to check the instructions, and cut your fabric with the grain line going in the right direction.
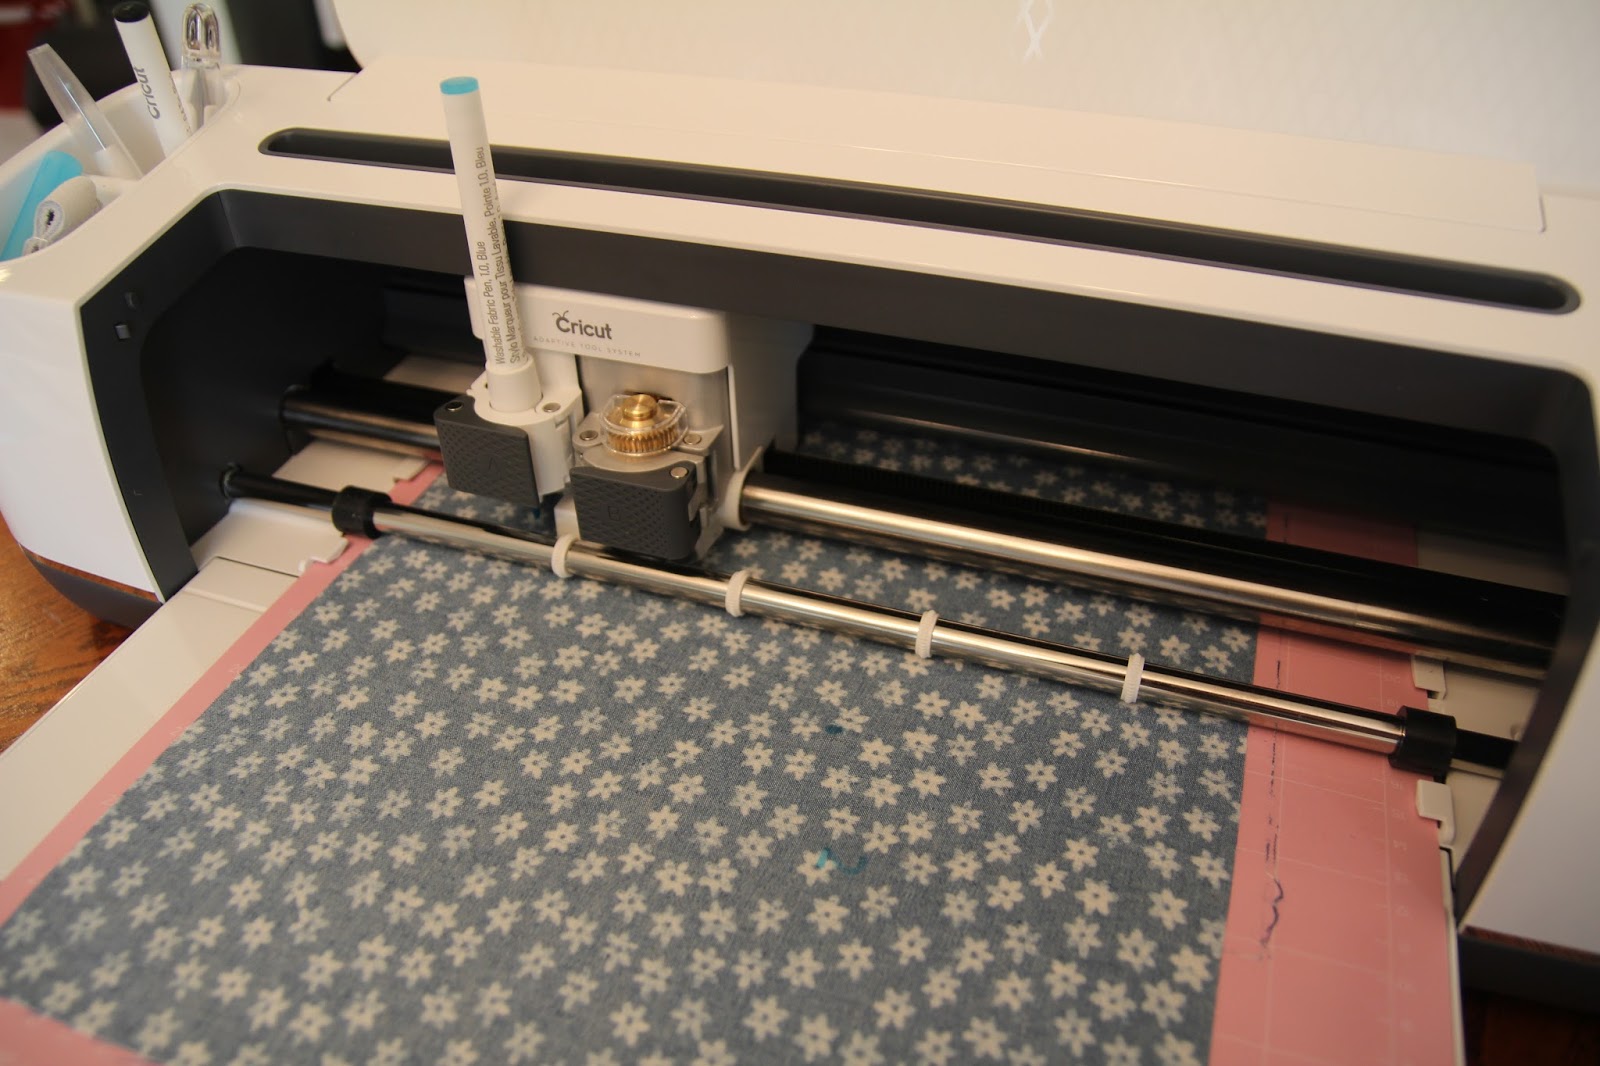
With the rotary blade and the washable fabric pen in place, you're ready to load the cutting mat, and start cutting. All of the pattern piece numbers and other markings will be automatically drawn on each individual pattern piece.

This whole mat of tiny little dress pieces only takes about two minutes to cut!

Once you have all your pieces cut, you are ready to sew up your project.

My fabric was freying easily, so I was sure to whip the edges of all my seams with a zig-zag stitch.

The pattern called for a "stitch in the ditch method" for securing the bodice facing, but I opted for some hand stitching instead.

These two little sleeves were so tiny, and I could barely turn them under my presser foot as I sewed them into the armscye!

Instead of cutting an elastic guide as the pattern suggested, I just looked at the measurements indicated on the cutting mat and cut the elastic accordingly.

These little bloomers are so adorable! I must find a little baby bum to put them on!

A little piece of twill tape serves as a great tag for the back.

Even though I placed my fabric wrong side up on the cutting mat, the pattern piece number still showed through to the front side where there were white flowers.

This was easily erased with a little dab of water. Thank goodness for the washable fabric pen!

I did make a few changes to the pattern. I hand stitched the bodice lining down, instead of stitching in the ditch. I eliminated the sheer overskirt. I used an invisible zipper instead of a lapped zipper. I only used one bow in the center waist, and added a twill tag to the back of the bloomers.
With a few easy adjustments to fit my taste, I was able to cut and sew up this cute little dress in a couple of hours. After using the Cricut Maker for this first project of mine, I can see that it would be very useful for making things over and over again. This little dress is perfect for a baby shower gift and is something that I really could use over and over!

If you are considering buying a Cricut Maker, you can watch a really fun and informative video HERE.


Comments
Post a Comment