Stars and Stripes Pillow Covers with the Cricut Maker


Summer is almost over, but with one more holiday to celebrate, I thought a red white and blue project was in order! These stars and stripes pillow covers are perfect for patriotic holiday decor. Follow this tutorial and whip up a couple for your home!
I'm using my Cricut Maker with the Rotary Blade which is part of the adaptive tool system that Cricut offers. This blade is perfect for this project as it cuts beautifully through these fabrics. The star piece is easily cut too with the additional thickness of the Heat n Bond on the back.
I used quilting cottons and 100% cotton denim. My favorite pillow forms are these from IKEA which are the perfect size and price for these 20" x 20" pillow covers.
Supplies you'll need for the star pillow cover:
- 10" x 10" piece of navy for star
- 12 1/2" x 12 1/2" piece of white for star background
- 10" x 13" piece of red for side borders
- 10" x 22" piece of red for top & bottom borders
Supplies you'll need for the stripes pillow cover:
- 7" x 13" piece for white stripes
- 10" x 13" piece for red stripes
- 10" x 13" piece of navy for side borders
- 10" x 22" piece of navy for top & bottom borders
Other supplies you'll need:
- two 20" or longer red zippers
- zipper foot
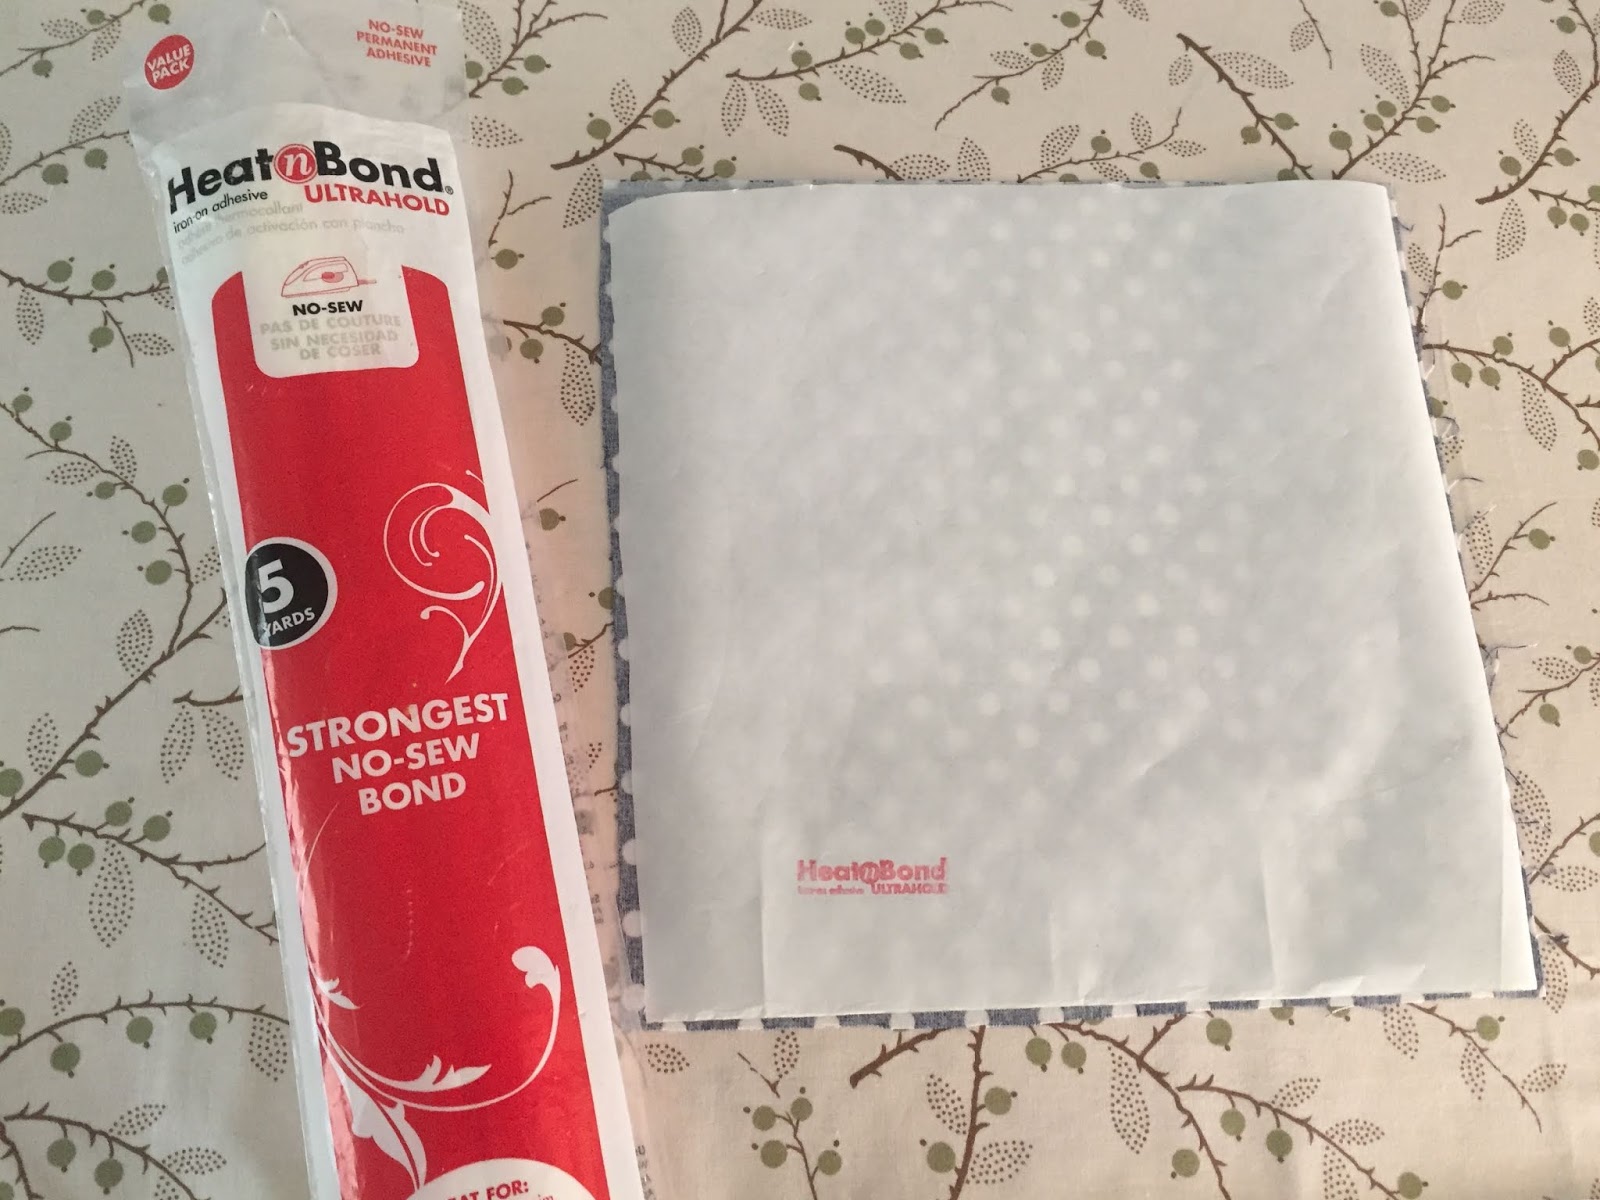
- 10" x 10" piece of Heat n Bond
- 3/4 yard denim
- two 22" x 22" pieces of warm and white batting
- coordinating threads
- rotary mat, ruler, and rotary cutter
- Circuit Maker with rotary cutter
- Navy embroidery floss and needle (optional)
- darning foot (optional)
Before cutting the star shape, apply the Heat n Bond to the wrong side of the fabric according to manufacturers directions.
Place the star fabric, fabric side down, on the cutting mat.


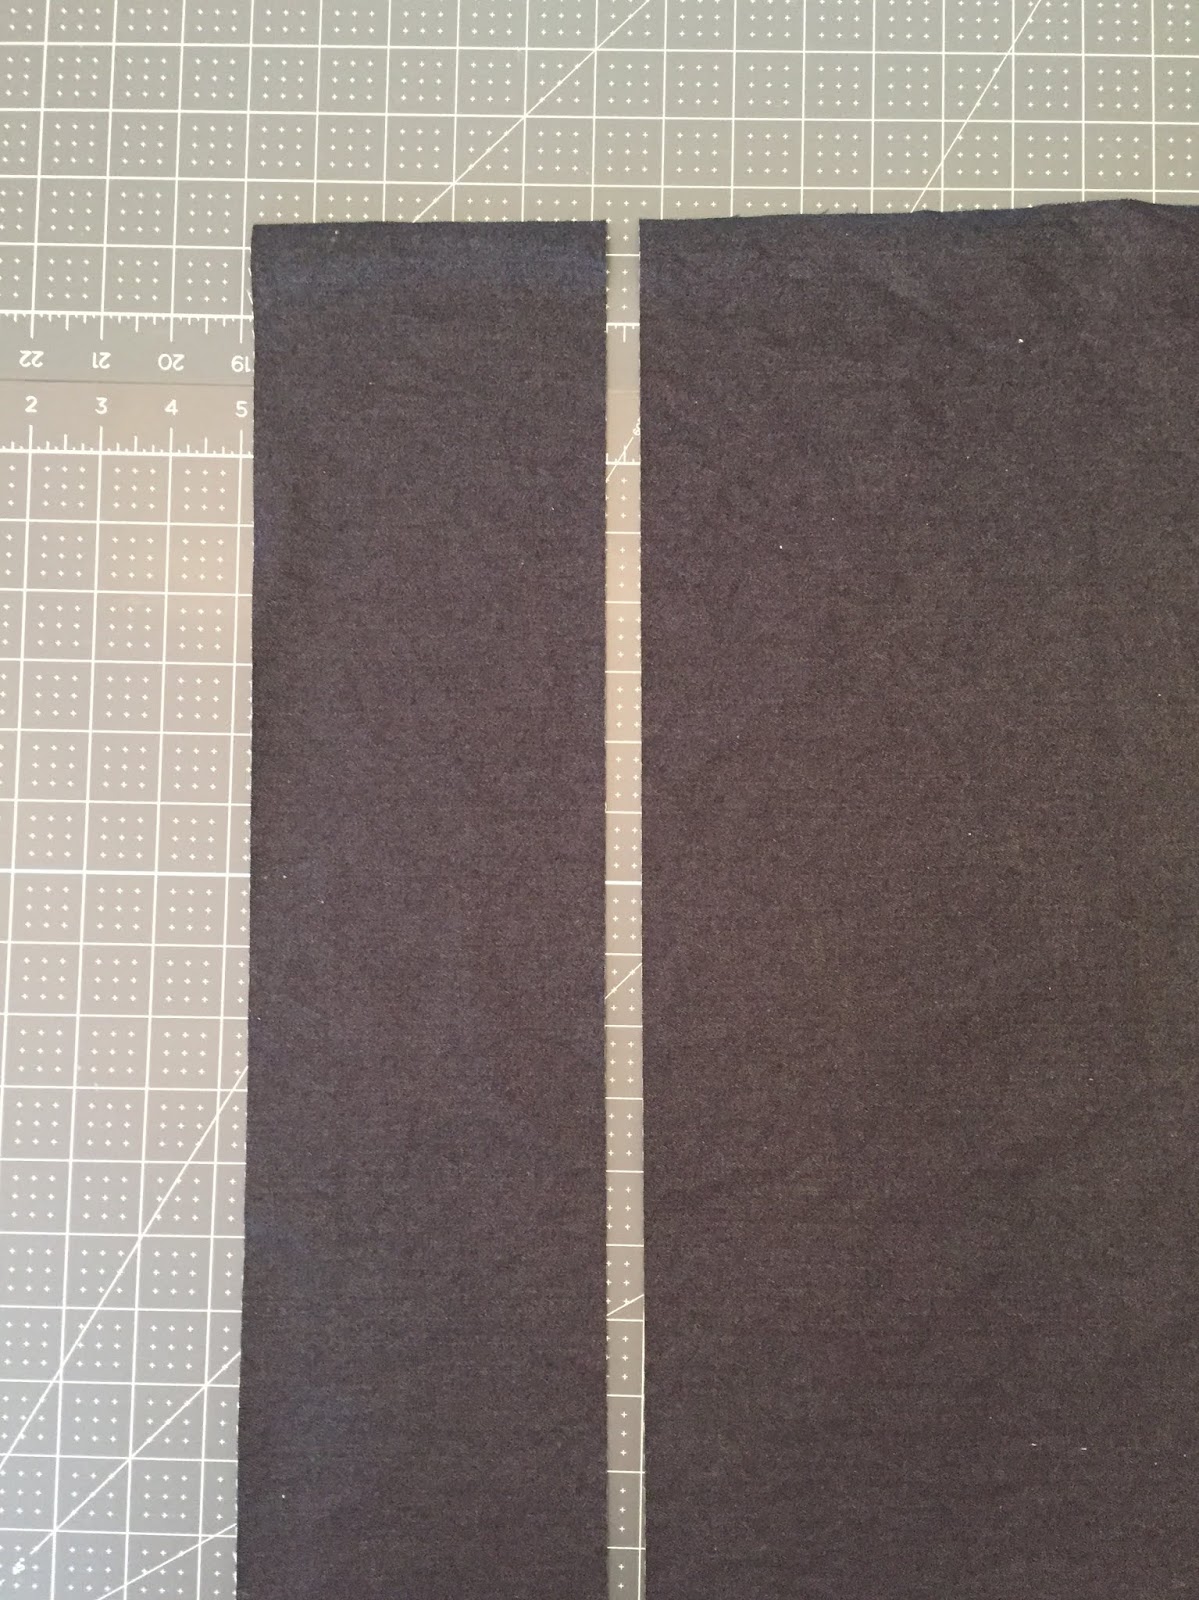
With all your fabrics cut, you're ready to start sewing. Start by sewing the denim pillow backs. On one side of the denim back, cut a 5" strip. Repeat for second pillow. This is where you will insert the zipper. You'll also need 4 1" x 2" pieces of denim for the zipper tabs. Use scraps for these.

Create an 18" zipper with a tab on each end. Creating a tab of fabric on the end of the zipper keeps the zipper teeth out of the seam allowance and adds interest to the pillow. Open the zipper a few inches and sew the tab onto the end RST and with a 1/4" seam allowance. Be careful when sewing across the zipper teeth so you don't break your needle. Trim away the excess zipper, open and press.

Do the same for the other side, making sure your stitching line is at the 18" mark. Trim away the excess zipper, open and press.

Sew the zipper onto both of the previously cut denim pillow back pieces RST and using a 1/4" seam allowance. Press and topstitch on both sides of the zipper. Repeat for the second pillow back.


For the star pillow, layer the star in the center of the white 12 1/2" x 12 1/2" piece and the center of the batting piece. The pillow top will be "quilted as you go". Pin the star layer to the batting and stitch around the perimeter of the star through both layers as shown.

Layer the two red side borders on top of the star piece RST, pin, and stitch through all layers on either side as shown.

Open the sides out and press.

Layer the top and bottom borders on as shown and stitch through all layers. Open the borders out and press.

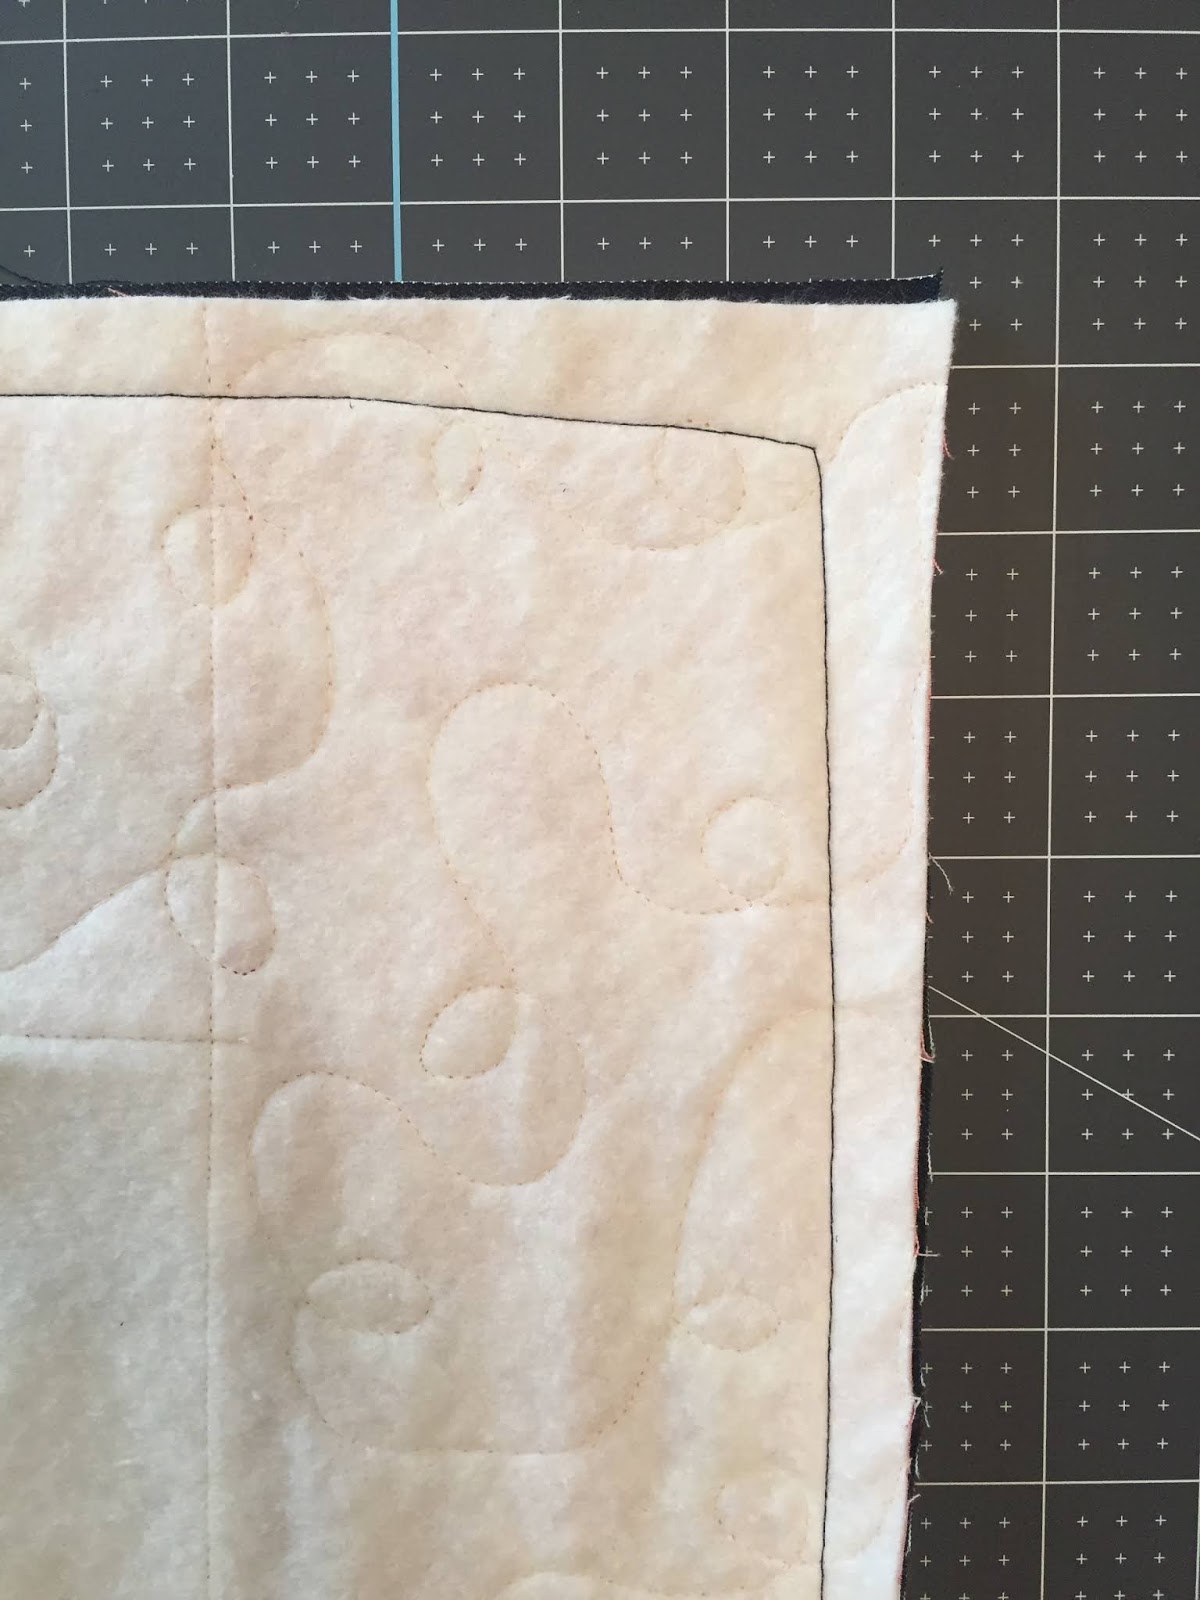
Optional: Pin around the edges of the pillow cover and freehand quilt using your darning foot, removing the pins as you go. I used a super simple loop-de-loo pattern here.
Another option is to just straight stitch around the edge of the pillow cover at 1/4" to stabilize the layers.

Optional: I used three strands of embroidery floss to add a running stitch around the border of the star.

It should look something like this on the back.

For the stripes pillow, place the center of one of the red stripes in the center of the batting and layer two white stripes on either side RST and pin. Stitch through all layers using 1/4" seam allowance.

Open the white stripes out and press.

Add the two remaining red stripes in the same way. Open them out and press. Add the navy borders to this striped pillow the same way as the star pillow.


To finish the pillow cover, place the finished pillow front and zippered back RST and stitch around the entire edge with 1/2" seam allowance. Make sure to leave the zipper opened so you can turn the cover right side out. Tip: I always curve my seam in an additional 1/4" starting about 5" before I get to the corner. This helps prevent super pointy corners, or that "dog ear" look on the finished pillow. Trim all the way around the edge to tidy up the seam allowances and finish the edges with a serger or a zig zag stitch.
Turn the cover right side out, making sure to pull out the corners. Press, insert the pillow form, and zip it up!


Comments
Post a Comment